
Chicken Cutlets Recipe : Cooking Guide
The sound of a golden chicken cutlet reminds me of my grandmother’s kitchen. It had crisp edges, tender meat, and a crunchy texture. This turns simple chicken into a dish that’s truly special. Whether you’re new to cooking or have been doing it for years, learning to make homemade chicken cutlets is a skill you’ll love.
This guide will show you how to make chicken cutlets that are as good as those from a restaurant. You’ll learn how to pick the best ingredients and get that golden-brown crust. You’ll discover all the techniques needed to make amazing chicken cutlets from scratch.
Our chicken cutlets recipe is more than just following steps. It’s about turning simple ingredients into a meal that everyone will enjoy. You’re about to learn how to make crispy, juicy cutlets that will be a favorite in your kitchen.
Table of Contents
What Makes the Perfect Chicken Cutlets Recipe
Making great italian chicken cutlets is an art. It mixes tradition, skill, and love. To get crispy chicken cutlets right, you need to know the rich history behind them.
Chicken cutlets are more than just food. They connect us to our family’s cooking traditions. The key is finding the right mix of old ways and new techniques.
The Classic Italian Cotoletta Tradition
The cotoletta comes from the Veneto region in Italy. It turns simple ingredients into a work of art. Traditional italian chicken cutlets are special because of their unique making process:
- Careful meat selection
- Precise pounding technique
- Authentic seasoning methods
- Specific cooking approach
For generations, families have shared these cooking secrets. Each cutlet tells a story of family and food.
Why Thin and Crispy Matters
Getting crispy chicken cutlets right is more than just cooking. Being thin is key for the right taste and texture. When you pound chicken to ¼ to ½ inch thickness, you get several benefits:
- Even cooking all through the meat
- A crispy outside
- Less chance of drying out
- Better flavor
Your aim is to make a cutlet that’s golden brown outside and juicy inside. This is a true sign of Italian cooking magic.
Essential Ingredients for Crispy Breaded Chicken Cutlets
Creating perfect breaded chicken cutlets starts with the right ingredients. Your success depends on choosing high-quality components. These will turn simple chicken into a crispy, delicious meal.
For authentic breaded chicken cutlets, you’ll need the following core ingredients:
- Boneless, skinless chicken breasts
- All-purpose flour or fine Italian ’00’ flour
- Large eggs
- Breadcrumbs (Italian-style or panko)
- Salt and black pepper
- Olive oil for frying
Some optional flavor enhancers can make your dish even better:
- Grated Parmigiano-Reggiano cheese
- Fresh chopped parsley
- Garlic powder
- Lemon or orange zest
Professional chefs say mixing breadcrumbs is key for texture. Use Italian-style breadcrumbs with panko for a coating that’s both tasty and crispy. The secret to great breaded chicken cutlets is layering your seasonings throughout the process.
For the best results, choose fresh, high-quality ingredients. Antibiotic-free chicken breasts give the most natural flavor. The right breadcrumbs and careful seasoning make a big difference, turning an ordinary meal into a restaurant-quality dish.
Preparing Your Chicken Breasts for Cutlets
Creating perfect pan-fried chicken breast starts with proper preparation. The key to restaurant-quality cutlets lies in transforming ordinary chicken breasts into thin, evenly cooked pieces that are bursting with flavor.
How to Butterfly and Pound Chicken Thin
Turning your chicken breasts into ideal cutlets requires a few essential techniques:
- Use a sharp knife to carefully butterfly each chicken breast horizontally
- Place the halved chicken between parchment paper or plastic wrap
- Use a meat mallet to pound the chicken evenly
When pounding your pan-fried chicken breast, start from the center and work outward. The goal is to create cutlets about ¼ to ½ inch thick. This ensures uniform cooking and prevents dry or undercooked sections.
Seasoning the Meat Properly
Proper seasoning transforms good chicken into great chicken. Follow these steps for maximum flavor:
- Pat the chicken completely dry with paper towels
- Generously season both sides with salt and pepper
- Ensure even coverage for consistent taste
Pro tip: Make small incisions along the cutlet’s edges to prevent bulging during cooking. This technique helps your pan-fried chicken breast maintain a flat, even profile for perfect browning.
Setting Up Your Breading Station the Right Way

Setting up a good breading station is crucial for making easy chicken dinner. It makes cooking smooth and fun.
Your breading station should be simple and organized. This prevents mess and ensures your chicken is perfectly coated. It’s like a culinary assembly line that makes cooking easier.
- Gather three shallow containers or trays
- Position them in a logical left-to-right sequence
- Prepare an additional plate for finished cutlets
Here’s a detailed breakdown of your breading station setup:
| Station Position | Container Contents | Purpose |
|---|---|---|
| First Container (Left) | Seasoned Flour | Initial coating |
| Second Container (Middle) | Beaten Eggs | Wet binding layer |
| Third Container (Right) | Seasoned Breadcrumbs | Final crispy layer |
Pro tip for your easy chicken dinner: Use the one hand wet, one hand dry technique. This keeps your hands clean and makes the process efficient.
A well-organized breading station turns potential kitchen chaos into a streamlined cooking experience.
By following these steps, you’ll create a professional-level breading station. It makes preparing chicken cutlets easy, even on busy weeknights.
Mastering the Three-Step Coating Process
To make the perfect chicken cutlets, you need a special coating technique. This method turns simple chicken into a crispy, golden treat. It’s your secret to making chicken cutlets just like a restaurant at home.
Professional chefs say the coating method is key to great chicken cutlets. It involves three steps. These steps make sure your chicken is crispy on the outside and juicy inside.
Flour Coating Technique
The first layer is flour. You want a thin, even coat. This helps the egg wash stick well. Here’s how to do it:
- Use seasoned flour for extra flavor
- Coat each chicken cutlet lightly
- Shake off excess flour to prevent clumping
Egg Wash Application
The egg wash is crucial for sticking the breadcrumbs. Here’s how to apply it right:
- Beat eggs until smooth
- Dip floured cutlets completely
- Let excess egg drip off naturally
Pressing Breadcrumbs for Maximum Crunch
The last step makes your chicken cutlets crispy. Press breadcrumbs firmly into the chicken:
- Use both hands – one for wet, one for dry
- Press breadcrumbs firmly into every surface
- Let breaded cutlets rest for 10 minutes before cooking
Learning this three-step coating process ensures your chicken cutlets are crispy and juicy. They will impress anyone who tries them.
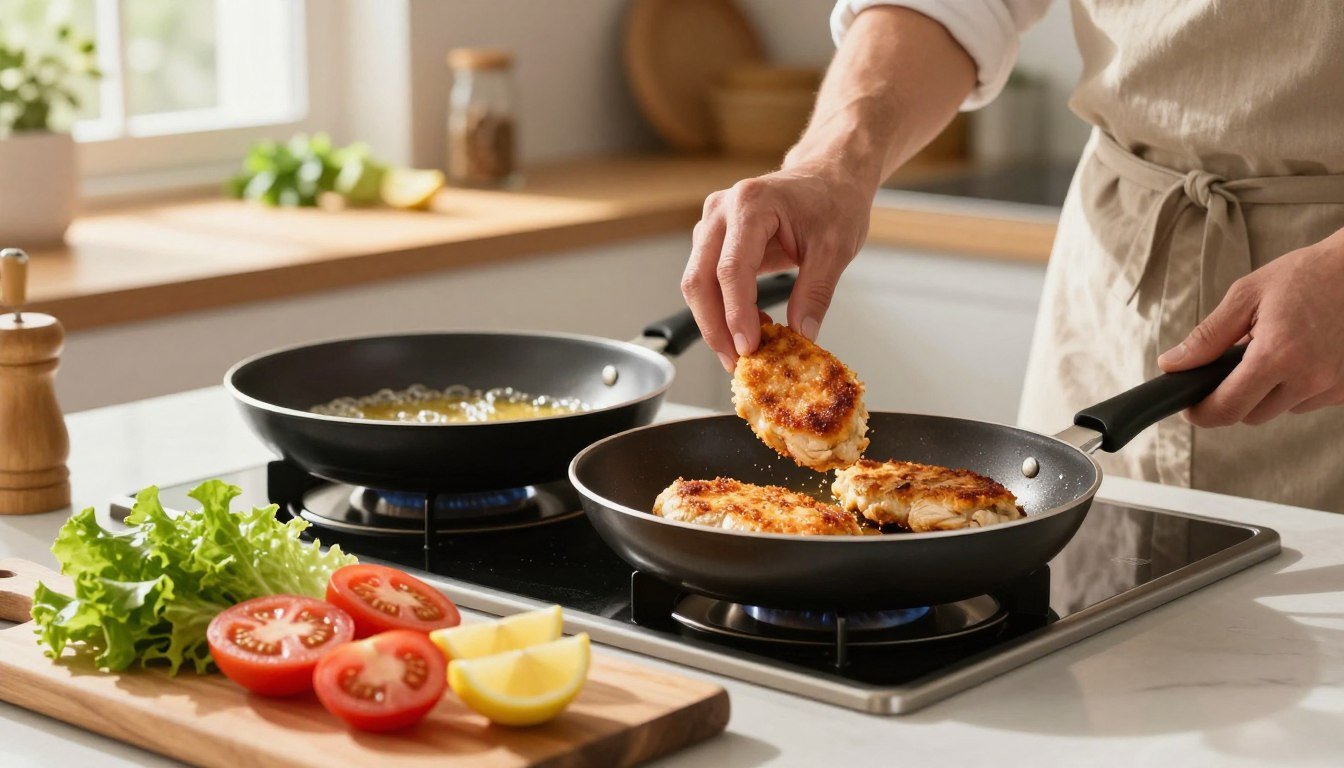
Pan-Frying Chicken Cutlets to Golden Perfection
To get crispy chicken cutlets, you need to master pan-frying. The right method turns your cutlets into a golden, crunchy delight. It’s all about the technique.
First, pick the right pan. Cast iron or stainless steel pans are best for even heat. Add enough olive oil to cover half of your cutlets.
- Heat oil to medium-low temperature
- Check oil readiness with a breadcrumb test
- Fry in small batches to maintain crispiness
Temperature control is key for crispy cutlets. Heat the oil to about 375°F. Test the oil by dropping breadcrumbs. If they sizzle, you’re good to go. Carefully place the cutlets in the oil.
Cook each cutlet for 3-5 minutes on each side. They should turn golden brown and crispy. Use tongs to flip them without losing the breading. Then, place them on a wire rack to keep them crispy.
Pro tip: Sprinkle flaky sea salt on your cutlets right after frying. It adds flavor and texture to the hot surface.
Tips and Tricks for Restaurant-Quality Results
Creating the perfect quick chicken recipe is more than just following basic steps. Professional chefs know that mastering a few key techniques can make your chicken cutlets stand out. They go from ordinary to extraordinary.
Getting restaurant-quality results is about understanding the small details of cooking. Your chicken cutlets need careful attention and precision.
Oil Temperature Control
Keeping the right oil temperature is key for a crispy, golden-brown quick chicken recipe. Here are some expert tips:
- Use a cooking thermometer to keep oil at 375°F
- Watch for steady bubbling around the cutlets
- Adjust heat between batches to maintain consistent temperature
- Add fresh oil to prevent burning and maintain crispiness
Avoiding Common Breading Mistakes
Preventing breading mishaps can make your chicken cutlets exceptional. Follow these professional techniques:
- Pat chicken completely dry before breading
- Use the flour layer for better breading adhesion
- Press breadcrumbs firmly onto the chicken
- Let cutlets rest 30-60 seconds before moving in the pan
Pro tip: Consider your first cutlet a test piece. It helps you adjust temperature and timing for the rest of your quick chicken recipe.
Delicious Ways to Serve Your Homemade Chicken Cutlets
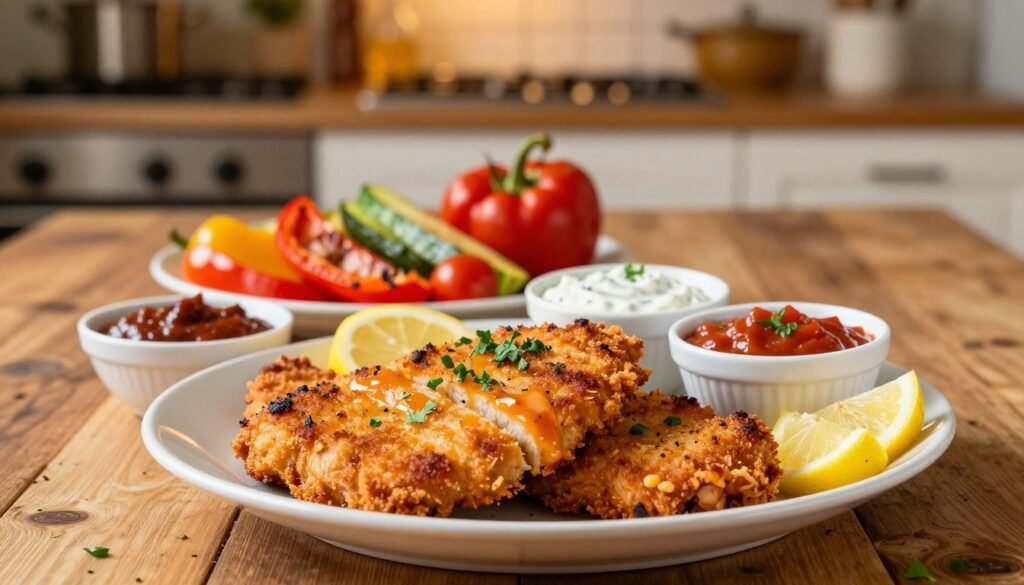
Your perfectly crispy chicken cutlets are versatile stars of weeknight chicken meals. Discover multiple delicious ways to transform these golden beauties into memorable dining experiences.
Classic serving options bring out the best in your chicken cutlets:
- Create a quick chicken parmesan base by topping with marinara sauce and melted mozzarella
- Serve alongside a fresh arugula and cherry tomato salad
- Tuck into a crusty ciabatta sandwich with provolone cheese
- Pair with roasted potatoes or garlic pasta
For those seeking variety, try these creative presentations:
- Slice cutlets over Caesar salad for a protein-packed lunch
- Cut into strips for kid-friendly chicken tenders
- Use as a protein in grain bowls with quinoa
Pro tip: Your breading technique isn’t limited to chicken. Experiment with pork tenderloin, fish fillets, or even vegetarian options like eggplant!
The secret to great chicken cutlets is simplicity – let the crispy, golden exterior speak for itself.
| Serving Style | Recommended Sides |
|---|---|
| Classic Italian | Arugula salad, lemon wedges |
| Comfort Meal | Mashed potatoes, roasted vegetables |
| Quick Lunch | Caesar salad, grain bowl |
Storing and Reheating Leftover Chicken Cutlets
Keeping your homemade chicken cutlets tasty doesn’t stop after cooking. The right storage and reheating can make them crispy and flavorful for days.
Learning how to store and reheat your chicken cutlets saves time and reduces waste. These tips will keep your cutlets as tasty as the first time you made them.
Refrigeration and Freezing Guidelines
Proper storage is key for your chicken cutlets:
- Cool cutlets to room temperature within 2 hours of cooking
- Place in an airtight container with parchment paper between layers
- Refrigerate for 3-4 days maximum
- For longer storage, freeze individually wrapped cutlets
Pro tip: Bread your chicken cutlets up to 24 hours in advance. Refrigerate them before cooking for a better coating.
Best Reheating Methods for Crispy Texture
Reheating chicken cutlets needs the right method to keep them crispy:
- Oven Method: Preheat to 375-400°F, place on a wire rack, heat 10-15 minutes
- Air Fryer Method: Cook at 375°F for 5-8 minutes
- Skillet Method: Warm in a bit of oil for 2-3 minutes per side
Avoid the microwave, as it makes chicken cutlets soggy. These methods ensure your chicken cutlets stay crispy and delicious, even as leftovers.
Conclusion
Learning to make italian chicken cutlets is more than a skill. It’s diving into a classic cooking tradition. With your new skills, you can turn simple ingredients into crispy, golden dishes. These dishes will make your meals feel like they’re from a restaurant.
Creating perfect italian chicken cutlets takes time and effort. Each try makes you better, from butterflying to getting that golden crust. Even top chefs started with mistakes, so don’t worry if it’s not perfect at first.
Now, you have a recipe that can be used in many ways. Whether it’s a quick dinner or a special meal for guests, these cutlets will be a favorite. Keep trying new things and enjoy the tasty outcomes of your cooking adventures.
As you make more italian chicken cutlets, you’ll get better and more confident. Start with the basics, stay open to new ideas, and watch your cooking skills grow. This will connect you to a rich culinary tradition in a fun and delicious way.